The Services section gives visitors a clear snapshot of what you offer, making it easier for the right clients to understand your expertise and decide whether you’re a good fit.
It also makes you more searchable on LinkedIn, because every service you add acts like a keyword that helps your profile appear when people look for someone with your skills.
Despite how powerful this feature is, many people still overlook it.
The setup takes just a few minutes, it adds instant credibility, and it makes your profile look far more complete and client-ready.
I’ll show you exactly how to add your services, along with real examples from creators you can mirror.
After that, I’ll share how Podawaa can help you get your services in front of the right audience so more potential clients discover you.
What Are LinkedIn Services?
LinkedIn Services is a dedicated section on your profile where you can list the specific services you offer.
It appears right under your intro card, making it one of the first things people see when they visit your page.
Here’s what the Services box looks like on your profile, right below the LinkedIn Summary section.
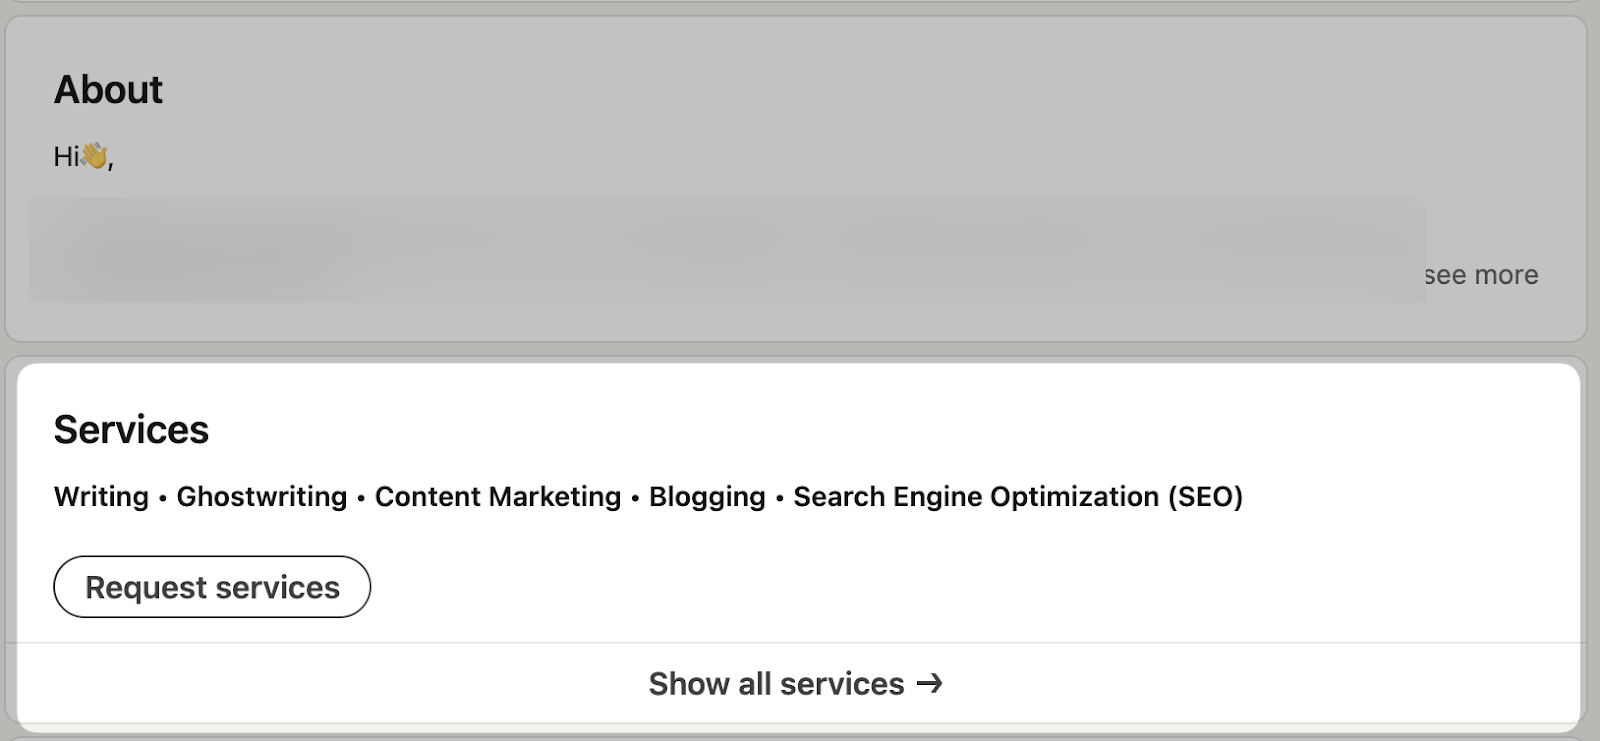
Once your services are live, clients can contact you directly through LinkedIn’s built-in “Request a Proposal” feature.
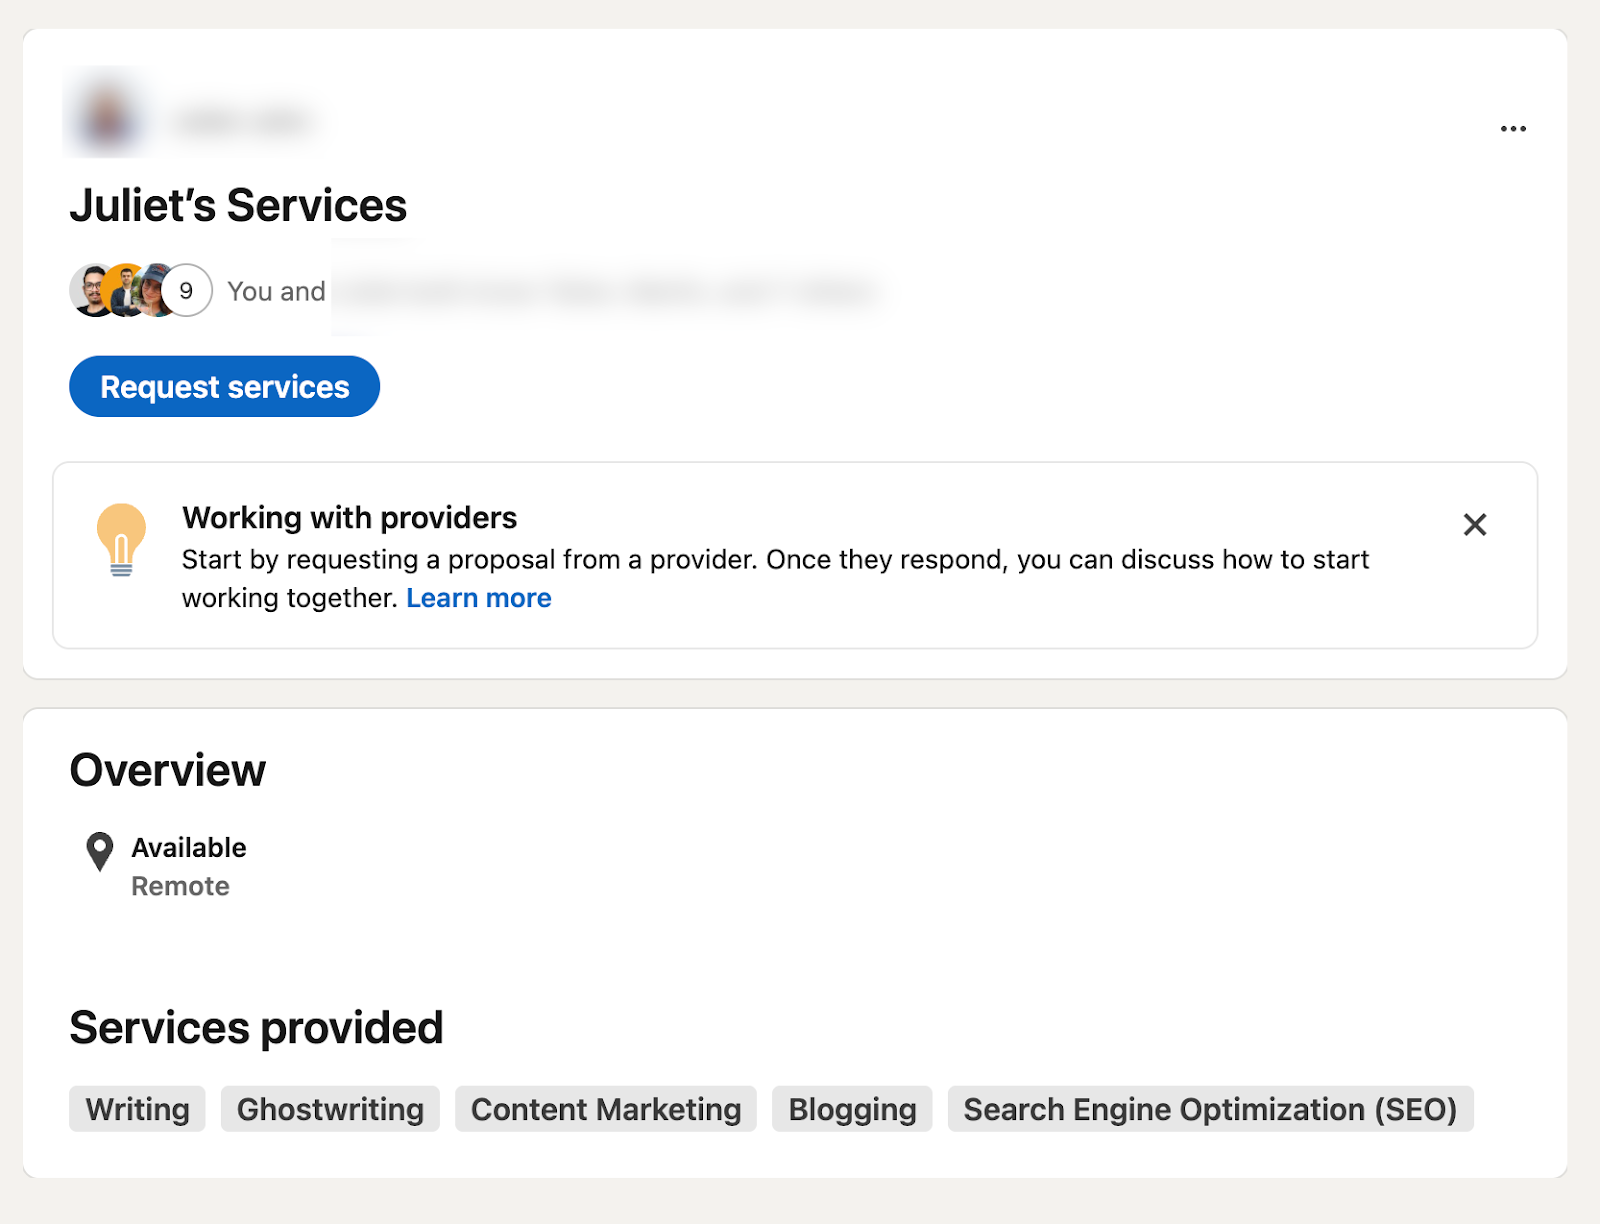
When someone clicks that button, LinkedIn guides them through a short workflow where they select the service they need, set a deadline, add a budget, and write you a message.
Here’s what the proposal request process looks like on the client side:

Why Adding Services Helps You Get More Clients?
Adding services to your LinkedIn profile is important because it instantly increases your visibility and makes it easier for potential clients to understand what you offer.
The Services section also gives your profile a more structured, professional look. Visitors don’t have to dig through your About section or work experience, they can see your skills at a glance, which builds trust.
To help you see how this works in practice, here are a few real examples of what a complete Services section looks like:
1. A Writer Listing Their Core Services: This writer highlights their main offerings (such as ghostwriting, content marketing, blogging, and SEO writing), making it easy for potential clients to instantly see what niche they specialize in and request services directly.
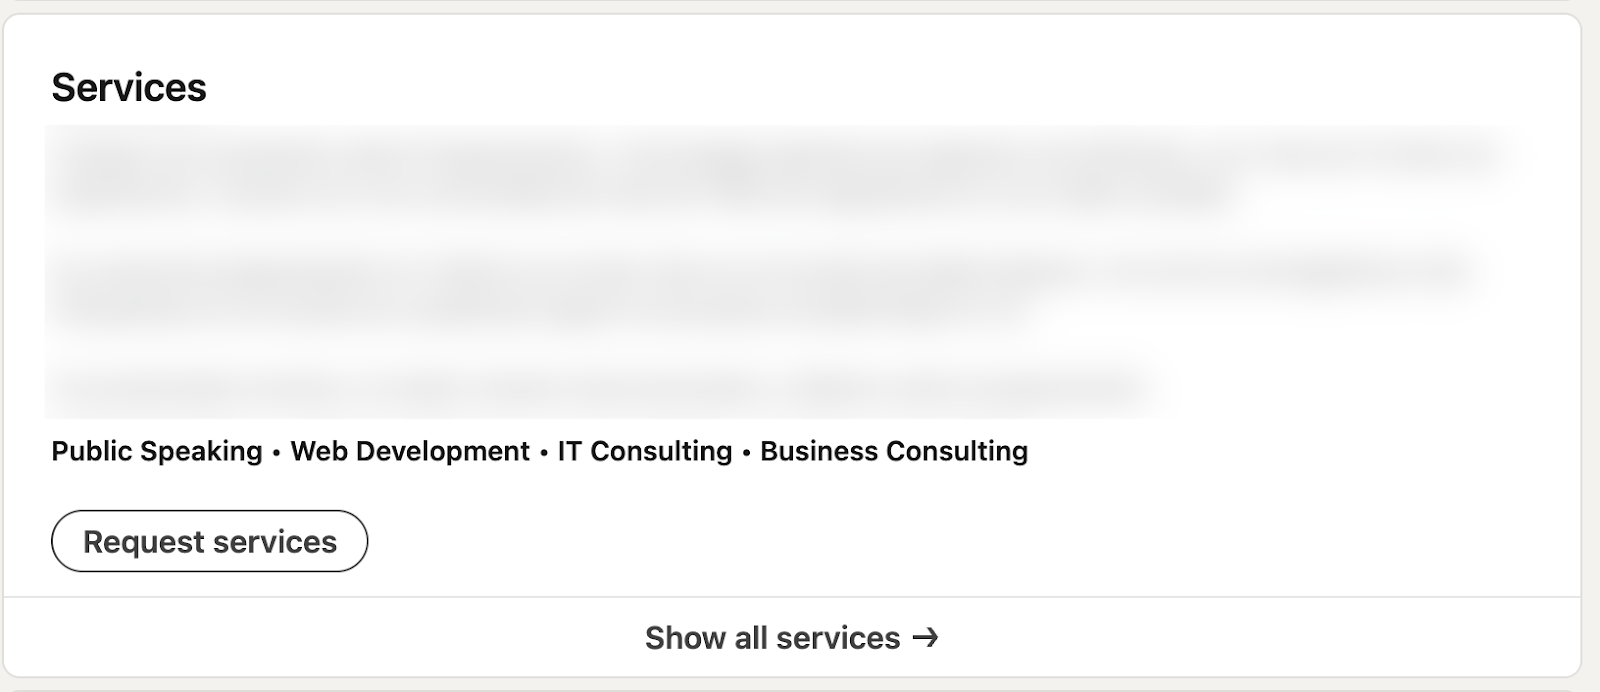
2. A Consultant Showcasing Their Expertise: This consultant displays a mix of high-level services (such as public speaking, IT consulting, web development, and business consulting), giving LinkedIn prospects a clear snapshot of their skills and making it easy to request support.
How to Add Services on LinkedIn (Step-by-Step)
Step 1: Go to Your LinkedIn Profile
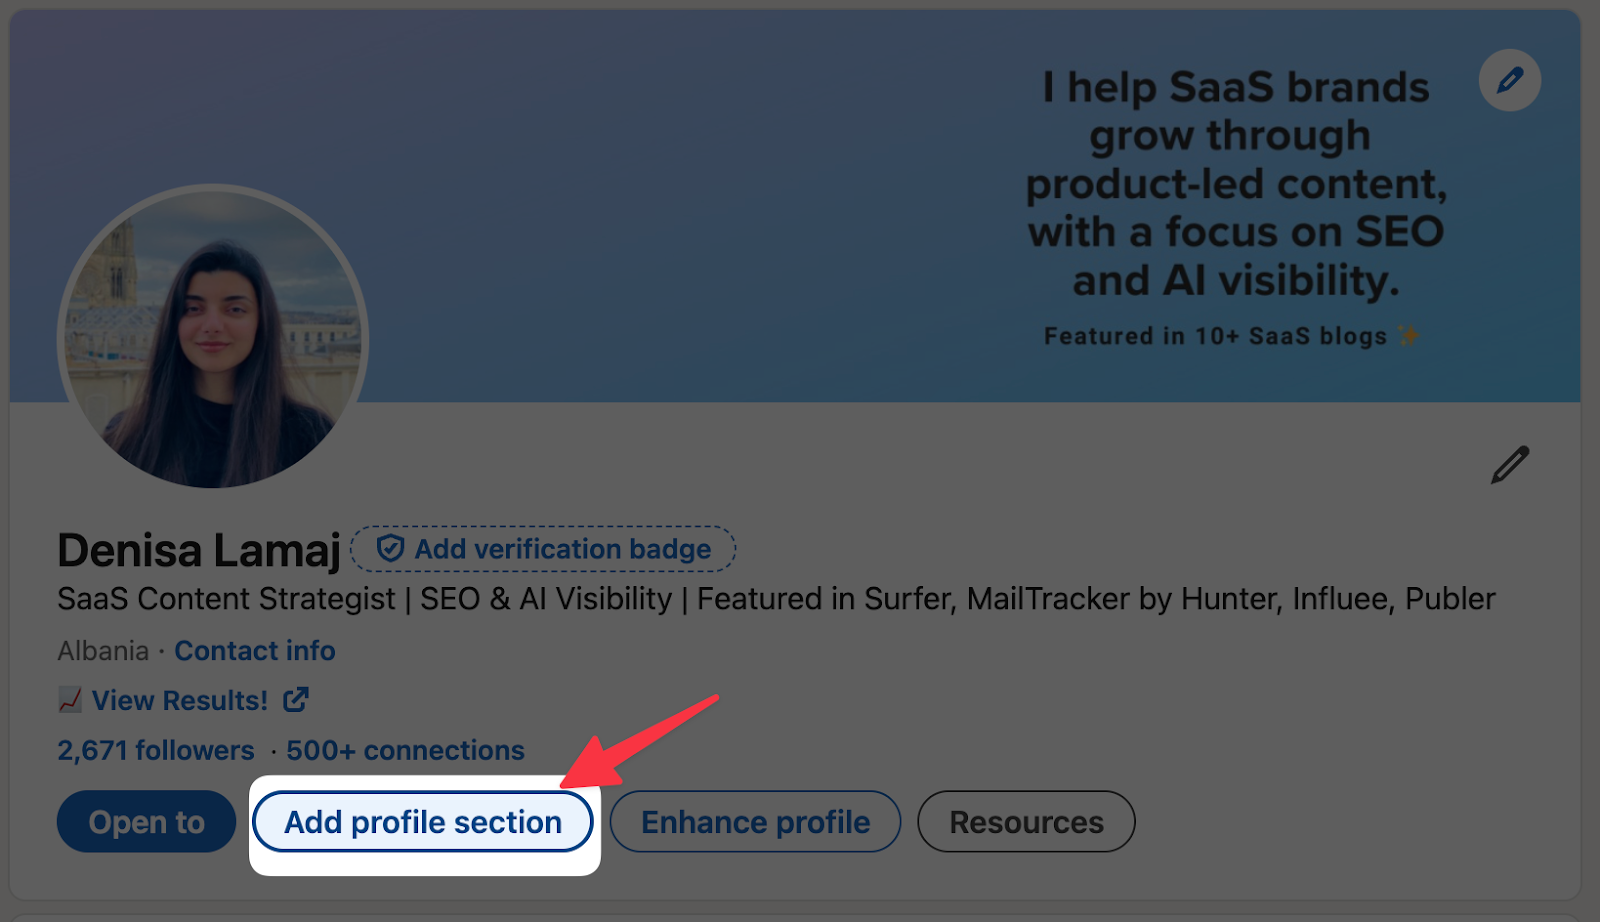
Click your profile photo in the top navigation bar and select “View Profile.” Then select “Add Profile section”.
Step 2: Click the “Add Services” Button
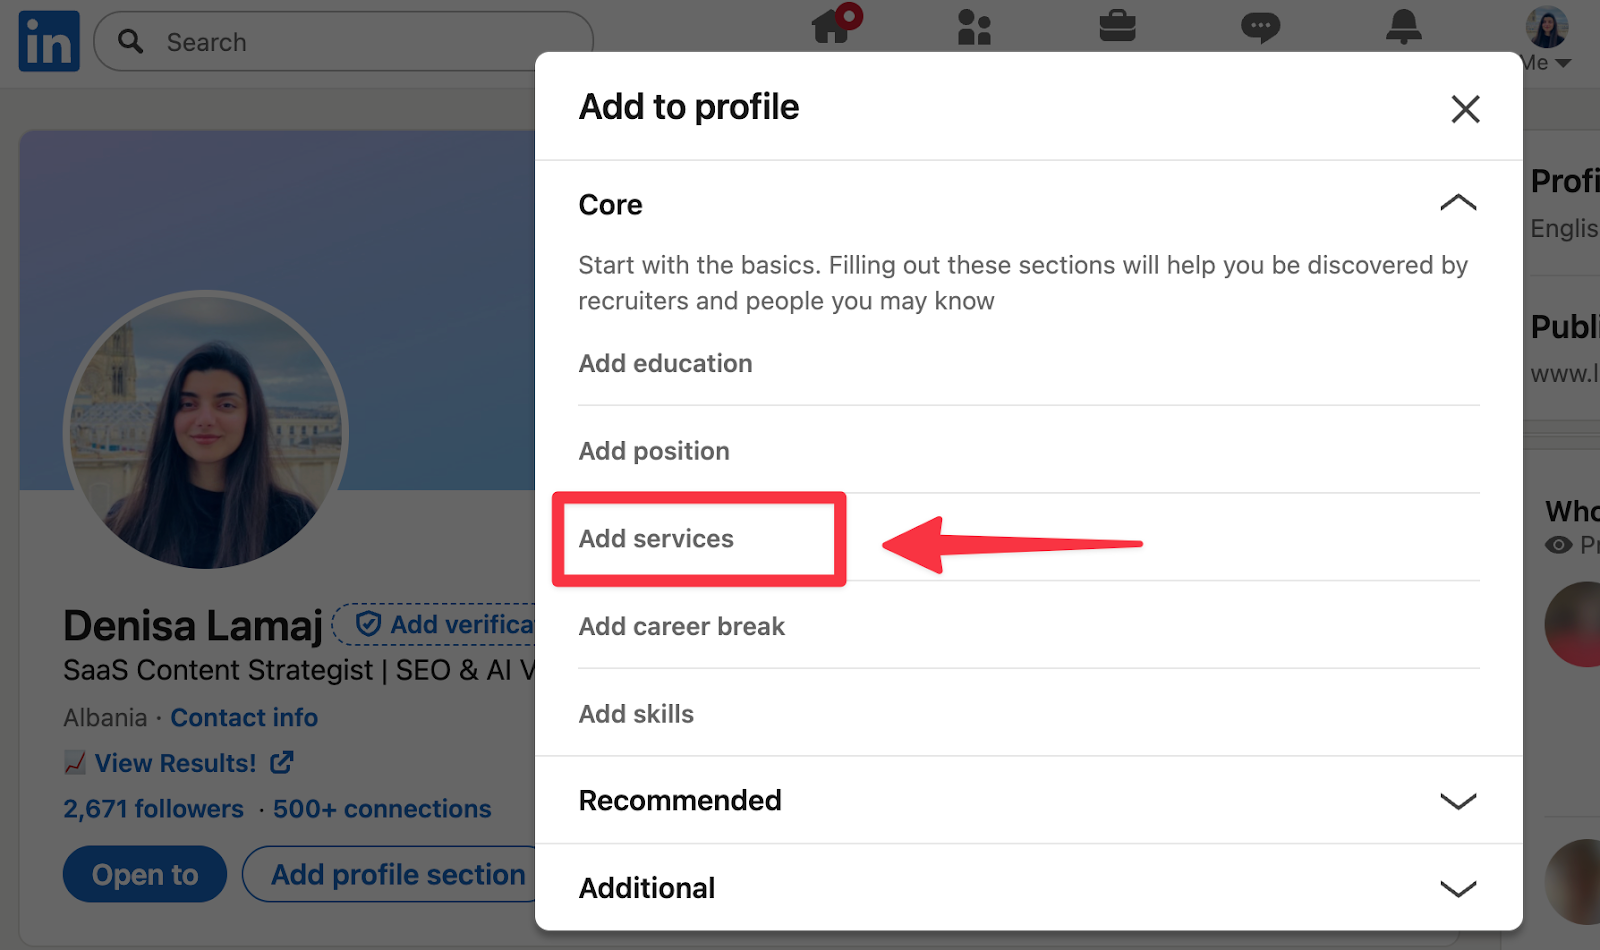
After opening your profile menu, a new window will appear with different profile options. Under the Core section, you’ll see Add services.
Click it, and LinkedIn will take you to the setup page where you can choose the services you want to offer.
Tip: If you don’t see it, try switching off Creator Mode, the button sometimes displays more clearly in standard mode.
Step 3: Select the Services You Want to Offer
LinkedIn will show you a predefined list of service categories. Pick the ones that truly match what you offer; usually 3 to 10 is enough. You don’t need to select everything.
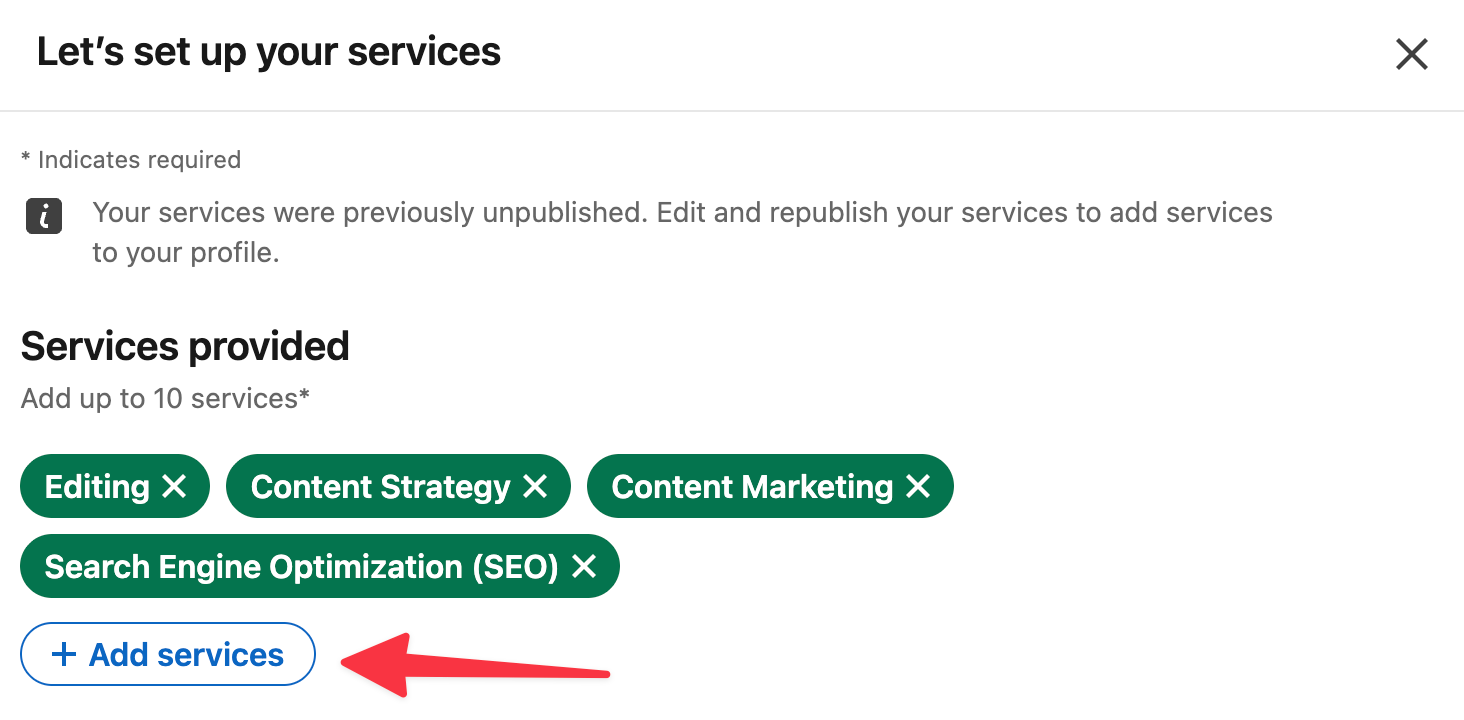
Here’s an example of how this looks in practice. In this screenshot, the writer selected services like Editing, Content Strategy, Content Marketing, and SEO, which makes their niche instantly clear to potential clients:
Here’s a helpful tip when choosing your services: think about the exact terms your ideal clients are most likely to search for.
For instance, instead of picking a broad label like “Marketing,” you’ll get better visibility with more specific options such as Content Strategy, SEO Consulting, or Social Media Management.
And if you’re in design, selecting Brand Identity, Web Design, or Landing Page Design is far more descriptive than simply choosing “Design.”
Step 4: Choose Your Work Location
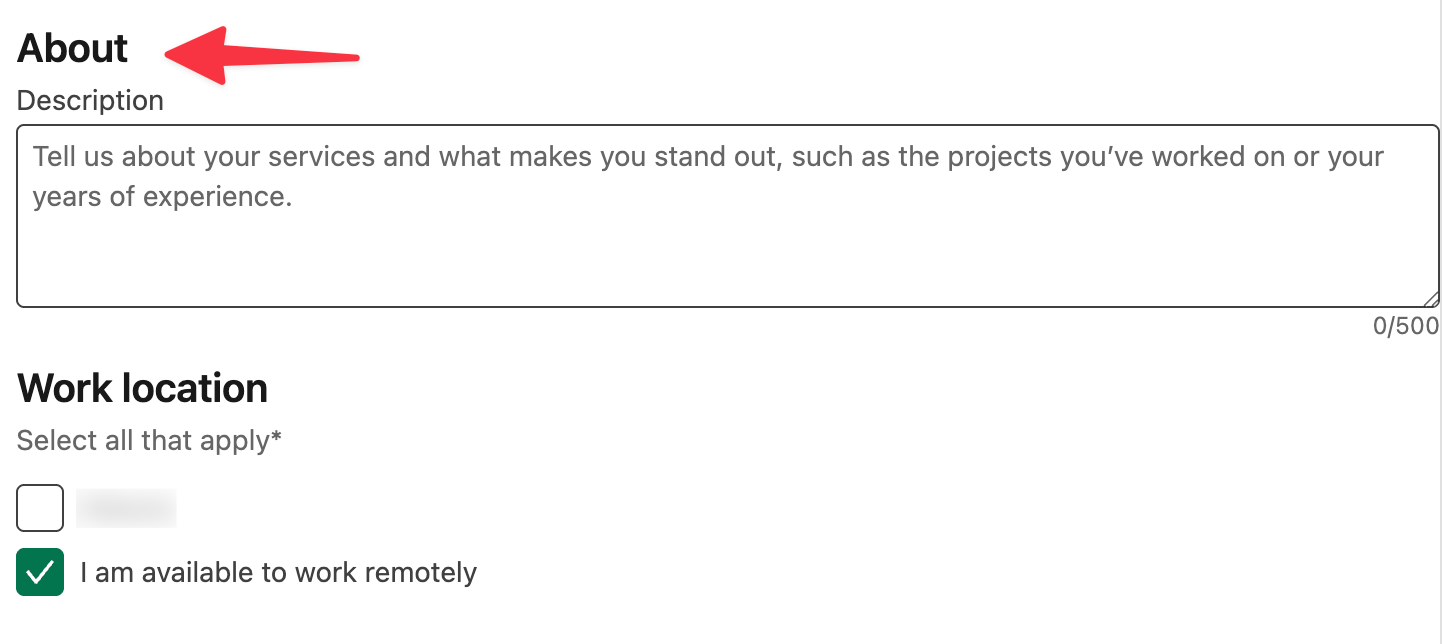
LinkedIn asks where you deliver your services. If you work online, choose “I deliver services remotely.”
Choosing remote broadens your reach because potential clients aren’t restricted by geography.
Step 5: Write a Short Service Description
This is the part most people rush through, but it’s actually one of the most important sections. Your service description should be short, specific, and focused on the results you create.
In the example below, you’ll see the “About” box where you can describe what you do in up to 500 characters. This is where you briefly explain your expertise and what makes you stand out:
The best way to write this is to keep it to a simple 2–3 line structure:
- What you do
- Who you help
- What outcome you create
Here’s a quick example you can adapt:
“I help B2B SaaS founders grow on LinkedIn through content strategy, ghostwriting, and analytics insights that boost visibility and inbound leads.”
And here’s a helpful tip: try using keywords your ideal clients would actually search for.
For example, terms like “LinkedIn content,” “SEO,” “email copy,” “B2B SaaS,” or “content strategy” can help your profile show up in LinkedIn’s search results more often.
Think of it like adding small signals that tell LinkedIn exactly what type of work you want to be found for.
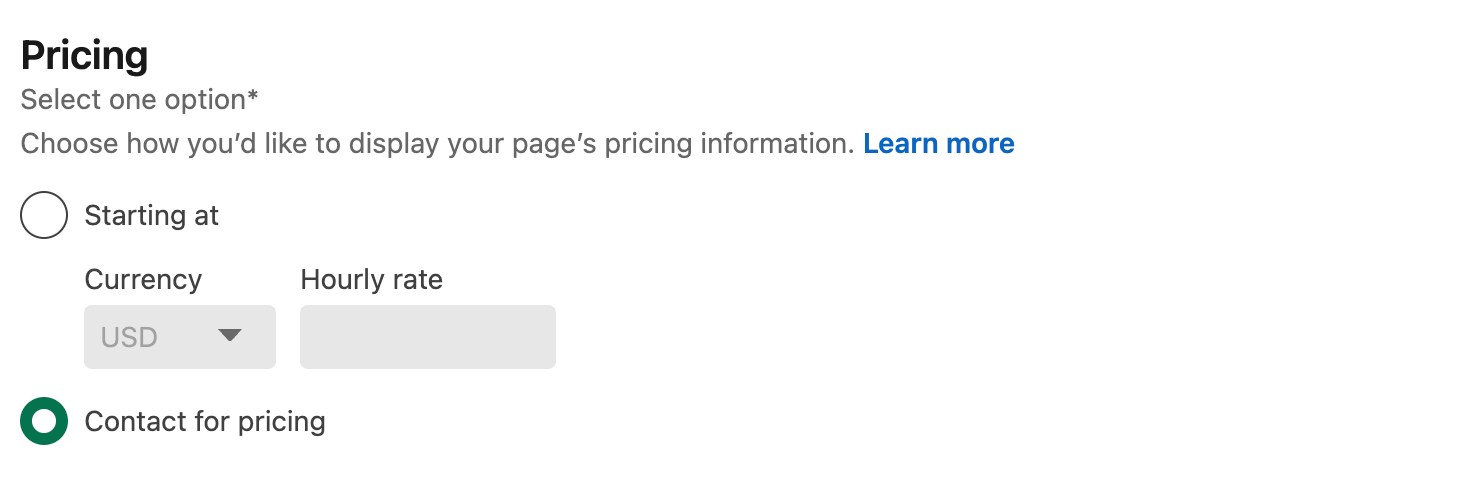
Step 6: Add Pricing (Optional)
This step is completely optional, but it can be helpful if you want to give potential clients a sense of your pricing structure upfront. LinkedIn lets you display either a starting price or a simple “Contact for pricing” option.
In the example below, you can choose whether to list a starting rate in your currency or keep things flexible by letting people reach out for a custom quote:
Once you’re done, just hit Save. Your Services section is now fully set up, and anyone visiting your profile will have a much clearer idea of what you offer, and a direct way to request a project from you.
Use Podawaa to Get Your Services in Front of More Clients
Once your services are added, the next step is making sure the right people actually see them. That’s how Podawaa can help you.
Podawaa analyzes your audience, recommends the best times to post for free, and helps your content reach people who are most likely to need your services.
Here’s how Podawaa helps you attract more clients:
- Reach the right audience. Podawaa’s AI studies your network and suggests who your content should reach based on the services you offer.
- Boost post visibility. Podawaa helps you get more likes and comments from the right people without spending hours planning your posts.
- As a result, you’ll get more profile views. This leads to more connections, more followers, and more potential clients discovering your services.